
A clean grill doesn't just look better—it cooks better, lasts longer, and makes every meal taste its best. The good news is that cleaning a grill doesn't require expensive tools or harsh chemicals. With a few common household supplies and about 30 to 45 minutes of your time, you can remove grease, food residue, and carbon buildup to keep your grill in great shape.
Cleaning a Grill: A Simple Step-by-Step Guide for a Cleaner, Better BBQ
A clean grill doesn't just look better—it cooks better, lasts longer, and makes every meal taste its best. The good news is that cleaning a grill doesn't require expensive tools or harsh chemicals. With a few common household supplies and about 30 to 45 minutes of your time, you can remove grease, food residue, and carbon buildup to keep your grill in great shape.
Whether you own a gas grill, propane grill, or charcoal grill, this guide will walk you through the basics of cleaning your grill safely and effectively.
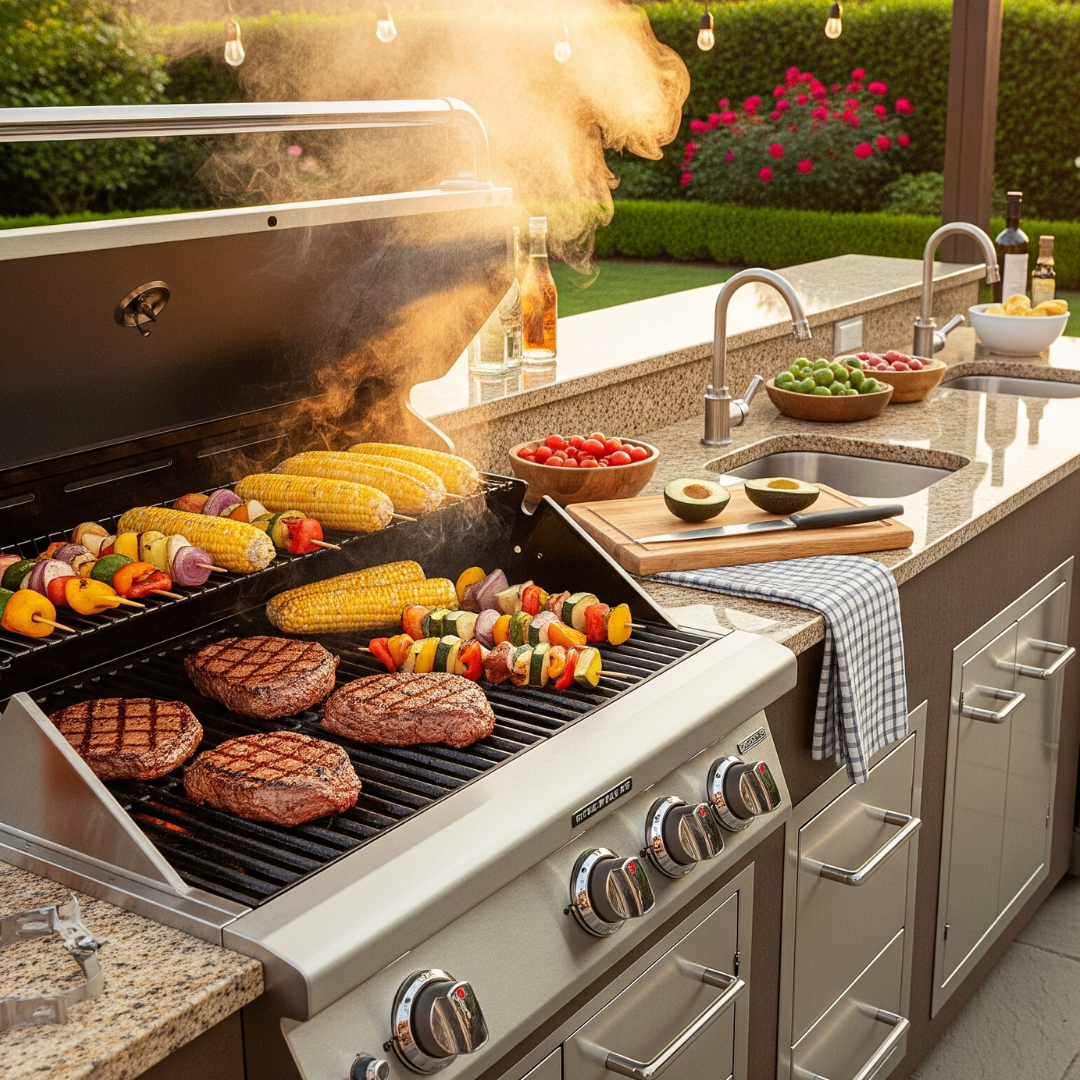
Supplies You'll Need
Step 1: Make Sure the Grill Is Cool
Before cleaning your grill, turn off the gas supply (if applicable) and allow the grill to cool enough to handle safely.
If you've just finished cooking, waiting 20 to 30 minutes is usually enough.
Never spray water directly onto a hot grill.
Step 2: Remove the Cooking Grates
Take out the cooking grates and set them aside.
If they're especially dirty, soak them in warm water mixed with a few drops of dish soap while you clean the rest of the grill.
This helps loosen grease and baked-on residue.
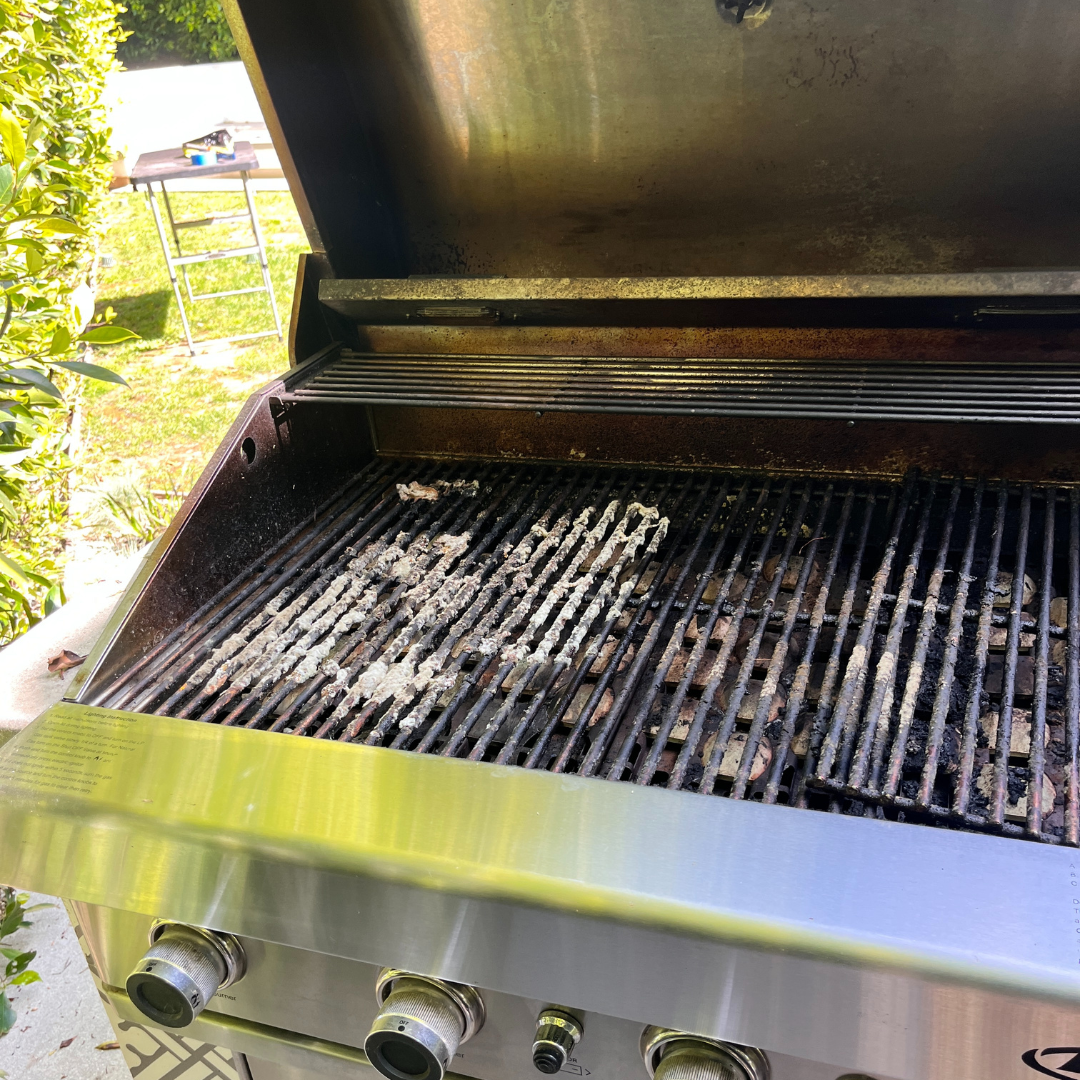
These grates have got to go!
Step 3: Brush Away Loose Debris
Using your grill brush, remove loose food particles and carbon from:
- Grill grates
- Heat plates or flavorizer bars
- The inside lid
- Burner covers
A plastic scraper works well for larger pieces of hardened grease.
Don't worry about making everything shine yet—you're just removing the loose buildup first.
Step 4: Clean the Firebox
One of the most overlooked parts of cleaning a grill is the firebox.
Grease and food debris collect here over time and can contribute to flare-ups.
Using your plastic scraper, gently push debris toward the grease tray.
If your grill has removable debris, use a small vacuum or carefully wipe it out with paper towels.
Avoid using excessive water inside the firebox.

Step 5: Wash the Grill Grates
Remove the grates from the soapy water.
Scrub both sides using a grill brush or non-abrasive scrub pad.
For stubborn residue, make a simple paste using baking soda and a little water.
Apply the paste, let it sit for several minutes, then scrub again.
Rinse thoroughly and dry completely before placing the grates back into the grill.
Step 6: Empty the Grease Tray
Grease trays fill up faster than many people realize.
Carefully remove the tray and dispose of the grease according to your local waste guidelines.
Wash the tray using warm soapy water and dry it completely before reinstalling it.
A clean grease tray helps reduce smoke and lowers the risk of grease fires.
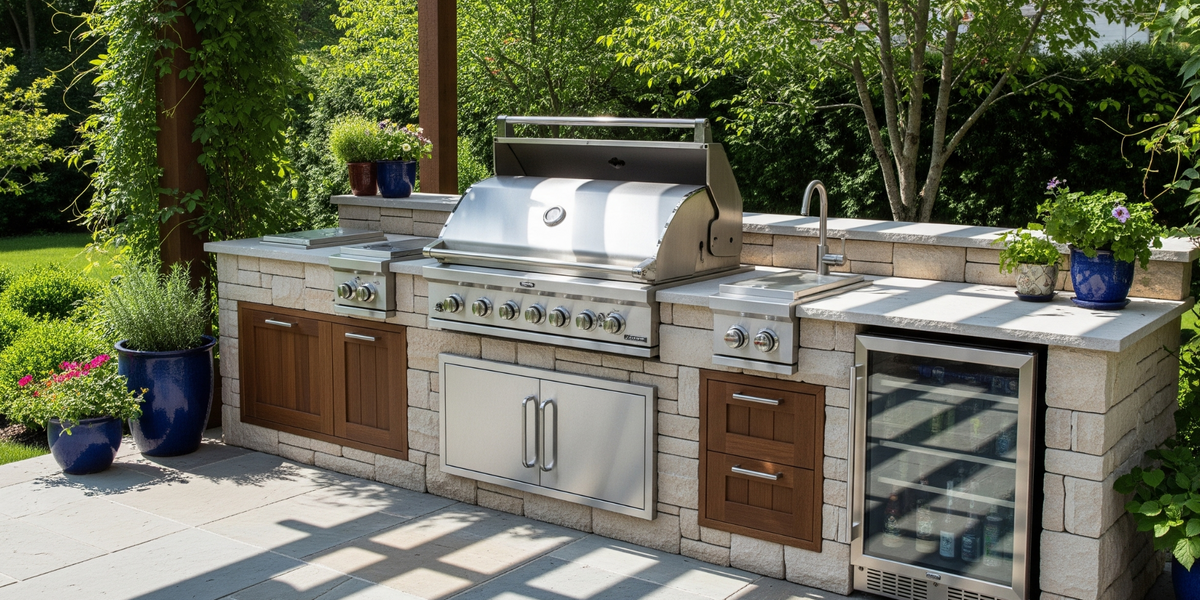
Step 7: Wipe Down the Exterior
Mix warm water with a small amount of dish soap.
Using a microfiber cloth, wipe down:
- Grill lid
- Side shelves
- Control knobs
- Handles
- Cabinet doors
For stainless steel grills, always wipe with the direction of the grain to help maintain a polished appearance.
A little white vinegar sprayed onto a microfiber cloth can help remove fingerprints and water spots.
Step 8: Reassemble and Heat the Grill
Once everything is clean and dry:
- Replace the grease tray
- Reinstall heat plates
- Replace the grill grates
Turn the grill on high for about 10 to 15 minutes.
This helps burn away any remaining moisture and prepares the grill for its next use.
How Often Should You Clean Your Grill?
A few minutes of maintenance after each cookout goes a long way.
Here's a simple schedule:
After Every Use
- Brush the cooking grates
- Empty excess grease if needed
Every Month
- Wipe down the exterior
- Clean drip trays
- Remove loose debris inside the grill
Every 6–12 Months
- Perform a deep cleaning like the one outlined above.
If you grill several times a week, consider deep cleaning every three to four months instead.
When It's Time to Call a Professional
Routine home maintenance is one of the best ways to keep your grill in great condition. However, there are times when a professional cleaning makes sense.
Consider professional service if:
- Your grill has years of grease buildup.
- Burners aren't heating evenly.
- The ignition system isn't working correctly.
- You've noticed excessive flare-ups.
- The interior has heavy carbon deposits.
- You own a premium built-in outdoor kitchen.
Professional grill cleaning reaches areas that are difficult to access and helps restore both performance and appearance.
A Clean Grill Makes Every Cookout Better
Regular cleaning of your grill helps improve cooking performance, extends the life of your equipment, and creates a safer grilling experience for your family and guests.
The best part? Most of the supplies you need are already sitting in your kitchen or garage.
If your grill just needs a little attention, this guide should help you get it back into great shape. And if the job feels a little bigger than you expected, Southern California Grill Cleaning is always here to help with professional deep-cleaning services that restore grills from the inside out.
Whether you choose the DIY route or call in the experts, keeping your grill clean means better food, safer cookouts, and more time enjoying life around the barbecue.