
Grill service experts reveal the number one secret that will save you time and money while improving the performance of your grill. Follow these tips to avoid costly repairs and extend the longevity of your grill.
Grill Expert Tips: Cleaning Your Grill Grates Saves You Money!
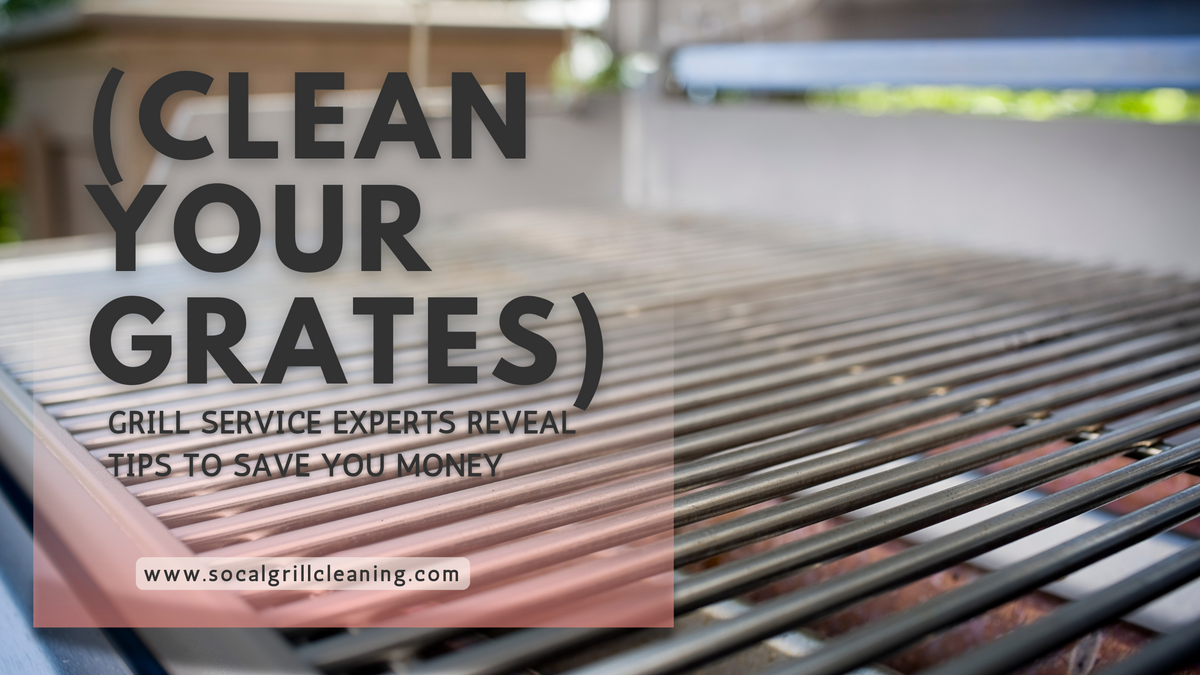
The Importance of Clean Grates
Putting all costs aside, a clean grill cooks better food. Just as you clean your kitchen utensils after every use, cleaning your grill grates after each use is a best practice to avoid cross-contamination and foodborne illnesses. Nobody wants to taste Friday's salmon dinner on Sunday's chicken kebabs, or open up their grill to find a science experiment growing on their grates after a few weeks of neglect.
Cleaning up your grill is probably the last thing on your mind once you've finished cooking your meal, but skipping this step will cost you. Grill grate replacements can come with a hefty price tag, and you'll likely need to replace multiple grates. The grease and grime build-up can damage even the best top-of-the-line equipment when left unaddressed.
Common Grate Materials and Their Care
Stainless Steel: These are the most common grill grates and one of the more cost-effective options. The benefit of their price comes with a cost of time and maintenance. Without regular care, these are the first pieces of your grill that will likely need to be replaced. Simple maintenance includes scraping the grates of any burnt-on food or carbon build-up after each use. This small step can make a huge difference in the aesthetic and the longevity of your grates
Cast Iron/Cast Steel: A favorite among grill enthusiasts, cast iron or cast steel boasts the benefits of a non-stick surface. Just like your mom's old cast iron skillet, these grates require seasoning and care. Even properly seasoned grates with the perfect nonstick surface will still need maintenance and care from time to time. Seasoning your cast iron or cast steel grates is a great preventive measure. Scraping them or wiping them down with a rag after cooking is considered a best practice regardless of seasoning.
Porcelain Enameled: Often found on high-end grills, porcelain enameled grill grates boast a nonstick surface that makes clean up a breeze. These grates are not indestructible however, and neglecting to care for them can lead to corrosion just as any other material.
Essential BBQ Cleaning Tools
Brushes: If you can purchase only one cleaning implement for your grill, make it a good brush. Many grill brushes feature steel bristles that can be even more harmful than helpful, so be wary of what product you choose to scrub your grates with.
Degreaser: For a truly spotless grill, you'll need something to break down those layers of grease and grime. Our professional opinion favors Easy-Off and we use it on every job. There are plenty of degreasers out there, so don't be afraid to experiment and find one that works well for your family.
Gloves: The only thing worse than eating off a dirty grill is burning yourself on one. A hefty set of leather work gloves can help you handle the heat and get those grates looking their best. One of the hardest parts of remembering to clean your grill grates is having to wait for them to cool before you can handle them.
Step-by-Step Guide to Cleaning Grill Grates
Once you've cooked your meal, fed your family, and are ready to startcleaning up, its time to jump into action. The first step to cleaning your grill grates is scrubbing them to remove any burnt-on food debris. For many this is the first and last step of the process, but if you're looking for a cleaner finish, keep reading!
To remove your grates, gently lift them using your gloves if they're still hot. If you have a large bin to soak them in, this would be the perfect time. Add some dish soap to the water to help break down any grease left behind.
Finally, wipe the grates down with some degreaser. This will remove any residue left behind and guarantee a grease-free finish. Rinse them off a final time and you're almost done.
After a soak and another scrub, they're almost ready! Finish off your grill grates by drying them off and placing them back in your grill. This simple 5 minute process can save you hundreds in replacement parts.
Once your grates are clean, you may find yourself wishing the rest of your grill was just as shiny. If that is the case